
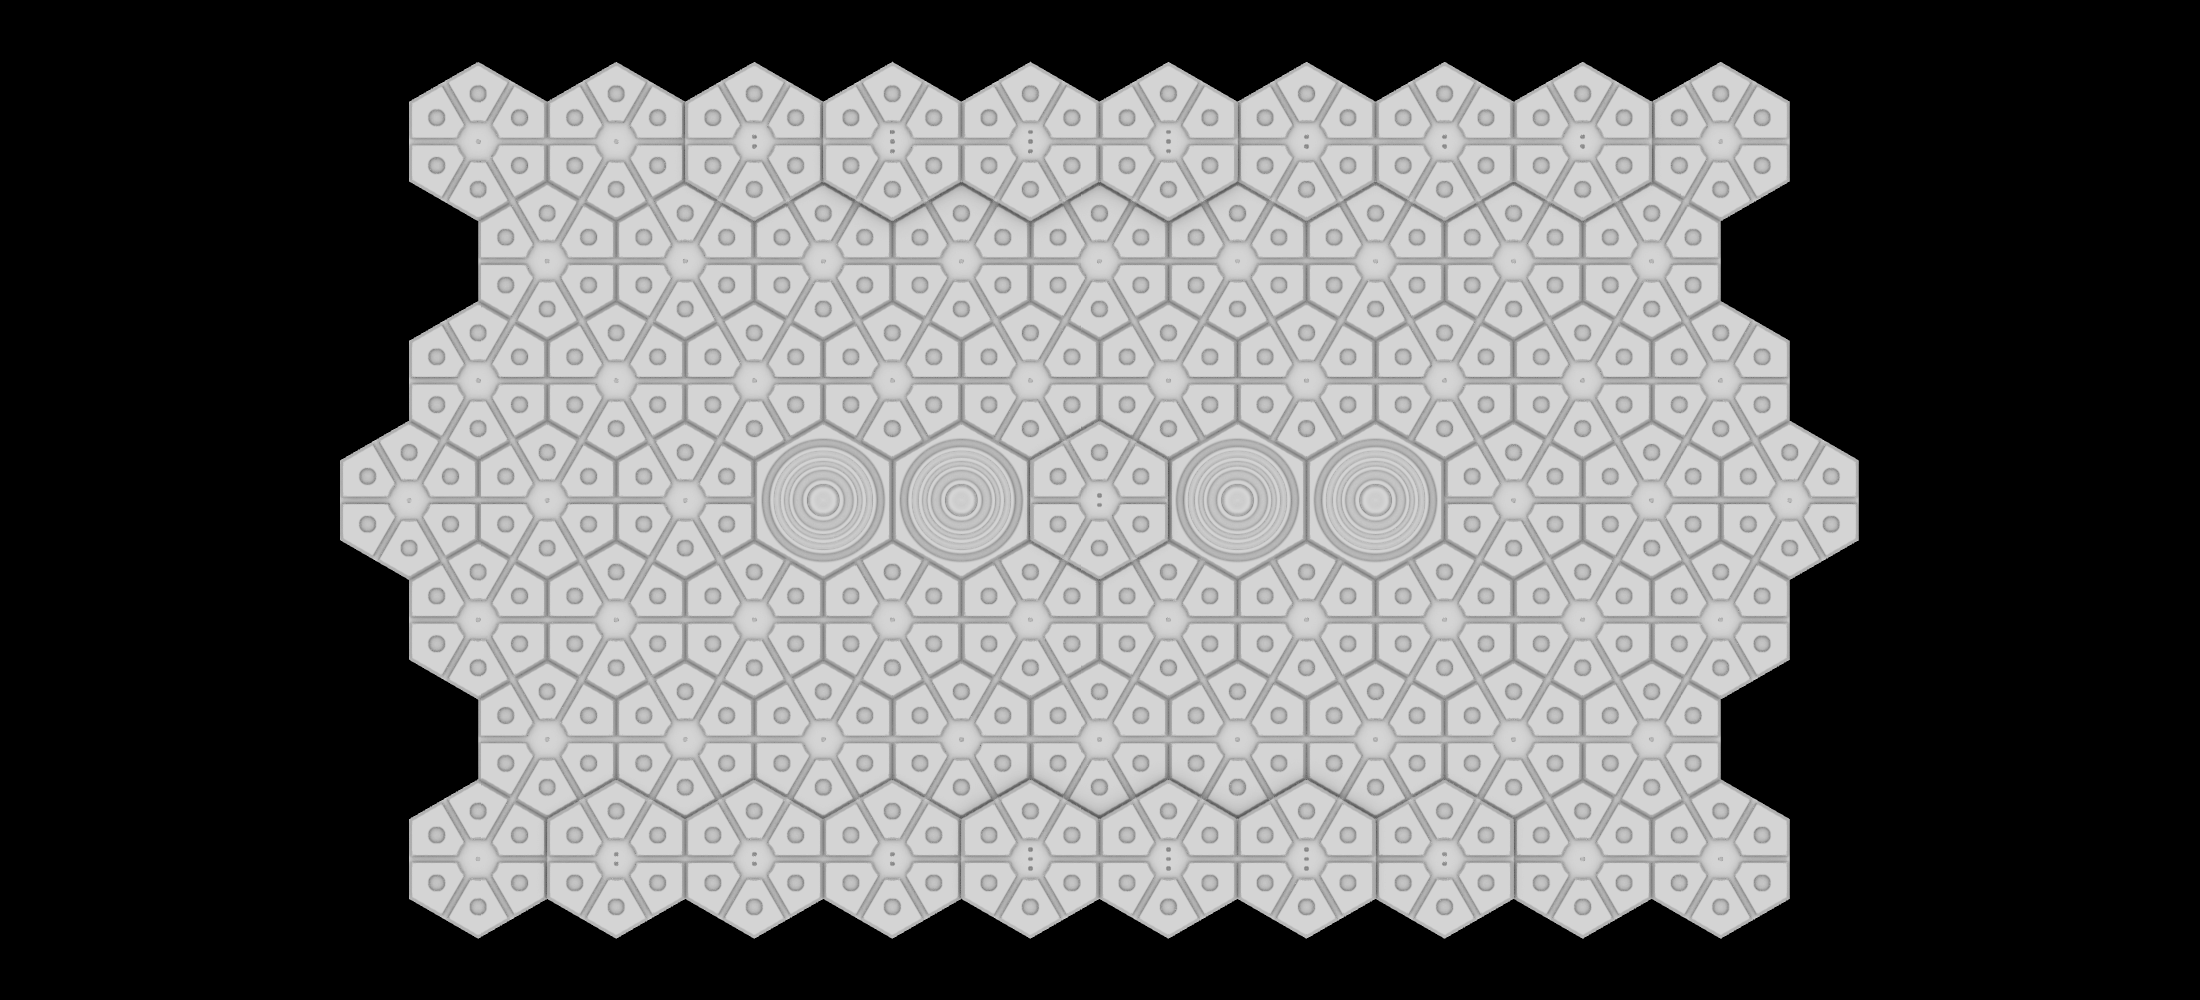
Corridor of the Void
This map combines two black holes at both ends of the map with a single hex in between them to create two corridors. High ground lines the edges of the corridors, giving players with enough speed and tenacity an edge to move their fleets into position for the killing blow. This map is for two or four players with a difficulty rating of six out of ten (P-4, D-6).

Two Players
When playing with two players, we recommend that each player place their stations on the ends of the map in line with the black holes on the second level one from the end. This gives each player cover from a direct attack while allowing each player to guide their fleet left and right up the corridor towards the enemy.
Keep in mind that the edges of the maps are high ground and can be utilized to strike down at oncoming attacks. Move your fleet into positions of power to utlize these spaces in order to dominate the map.
At the center of the map there is a level two which allows for fleet cross overs.

Four Players
When playing with four players, the map becomes more difficult. We recommend that players play in balanced teams with one strong and one weak player on each team (depending on Helo stats). We also recommend that players place their stations at the end of each corridor on the last level one. This will admittedly remove one hex from deployment for each player, but will keep each player far enough away from the enemy to limit direct open strikes.
High ground is within deployment range for one player on each team and within a couple of movements for the other. Once again, high ground can be utilized to strike down at enemy forces. At the center of the map is a level two, which can be utilized to move into defence postures supporting your ally when they are becoming overwhelmed.
Additionally, players can utilize the center of the map between the black holes to create routes that encircle enemy forces.
To play this map with four players see our shop to by your first Fleet Expansion pack!